
Juggling work and personal development projects on a single laptop is a common reality for modern software engineers. However, push errors like Permission to user/repo.git denied to key-name frequently occur when your system tries to authenticate across multiple GitHub accounts using a single global credential.
GitHub enforces a strict rule: an SSH public key can only be associated with a single GitHub account. If you try to reuse the same key or let your system default to a single key identity, authentication fails.
Learning how to set up SSH keys for multiple GitHub accounts on one machine fixes permission conflicts permanently. By configuring dedicated SSH key pairs, editing your SSH config file, and mapping directory structures, you can seamlessly push code to enterprise and personal repositories without logging in and out.
Key Takeaways
- Unique Keys Per Account: Every GitHub account on your machine requires its own dedicated SSH key pair generated via Ed25519 or RSA algorithms.
- SSH Host Aliasing: The
~/.ssh/configfile uses custom host aliases (e.g.,github.com-workandgithub.com-personal) to route requests to the correct key identity. - Directory-Level Git Configuration: Modern Git setups leverage
includeIfdirectives in~/.gitconfigto automatically assign correct committer names, emails, and SSH keys based on folder paths. - IdentitiesOnly Enforcement: Adding
IdentitiesOnly yesto your SSH configuration prevents SSH agents from offering untrusted default keys during handshake attempts.
Step 1: Generate Dedicated SSH Key Pairs
First, create separate SSH keys for each GitHub account using terminal commands. Avoid default file names so keys do not overwrite each other.
Open your terminal or Git Bash and generate the first key (e.g., for your personal account) using the secure Ed25519 algorithm:
Bash
ssh-keygen -t ed25519 -C "your_personal_email@example.com" -f ~/.ssh/id_ed25519_personal
Next, generate a second key for your work or secondary account:
Bash
ssh-keygen -t ed25519 -C "your_work_email@company.com" -f ~/.ssh/id_ed25519_work
This creates four files in your ~/.ssh/ directory:
id_ed25519_personal(Private Key)id_ed25519_personal.pub(Public Key)id_ed25519_work(Private Key)id_ed25519_work.pub(Public Key)
Step 2: Add Public Keys to Their Respective GitHub Accounts
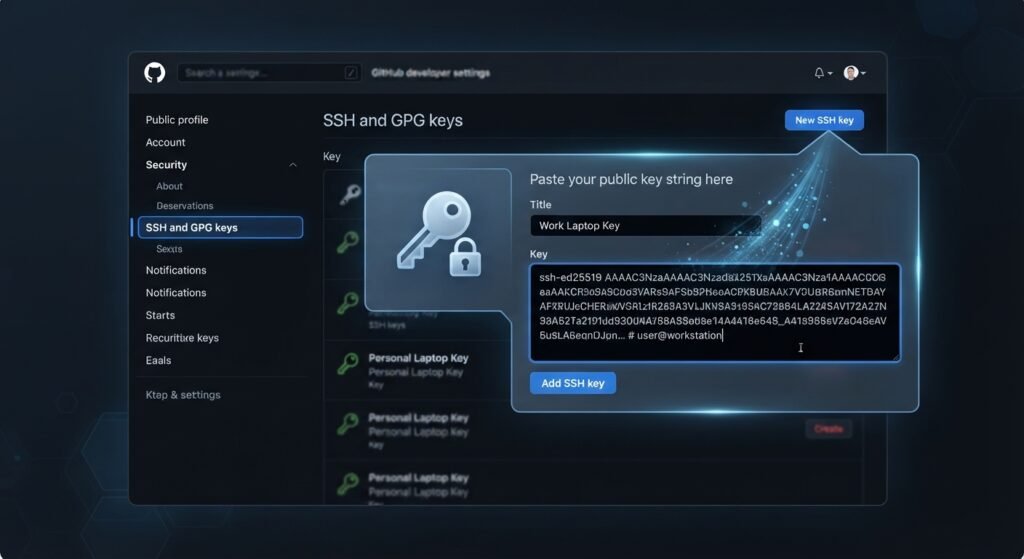
Now, copy the contents of each public key (.pub file) and attach it to its corresponding GitHub profile.
- Print and copy your personal public key:Bash
cat ~/.ssh/id_ed25519_personal.pub - Log in to your personal GitHub Account.
- Go to Settings > SSH and GPG keys > New SSH Key.
- Paste the copied text into the key field and save.
- Repeat the process for your work public key (
id_ed25519_work.pub) on your work GitHub account.
Step 3: Configure the Local SSH Config File
When you run git push, your local SSH client needs to know which private key to pair with each host. Configure host aliases inside your SSH config file.
Open or create ~/.ssh/config:
Bash
nano ~/.ssh/config
Add the following configuration blocks:
Plaintext
# Personal GitHub Account
Host github.com-personal
    HostName github.com
    User git
    IdentityFile ~/.ssh/id_ed25519_personal
    IdentitiesOnly yes

# Work GitHub Account
Host github.com-work
    HostName github.com
    User git
    IdentityFile ~/.ssh/id_ed25519_work
    IdentitiesOnly yes
Why
IdentitiesOnly yesmatters: By default, SSH tries every key loaded in the activessh-agent. GitHub rejects connections if too many invalid keys are offered before presenting the correct one. SettingIdentitiesOnly yesforces SSH to exclusively use the key specified inIdentityFile.
Step 4: Register Keys with the SSH Agent and Test Connections
Start your background SSH agent and register both generated private keys:
Bash
# Start the agent
eval "$(ssh-agent -s)"

# Add your private keys
ssh-add ~/.ssh/id_ed25519_personal
ssh-add ~/.ssh/id_ed25519_work
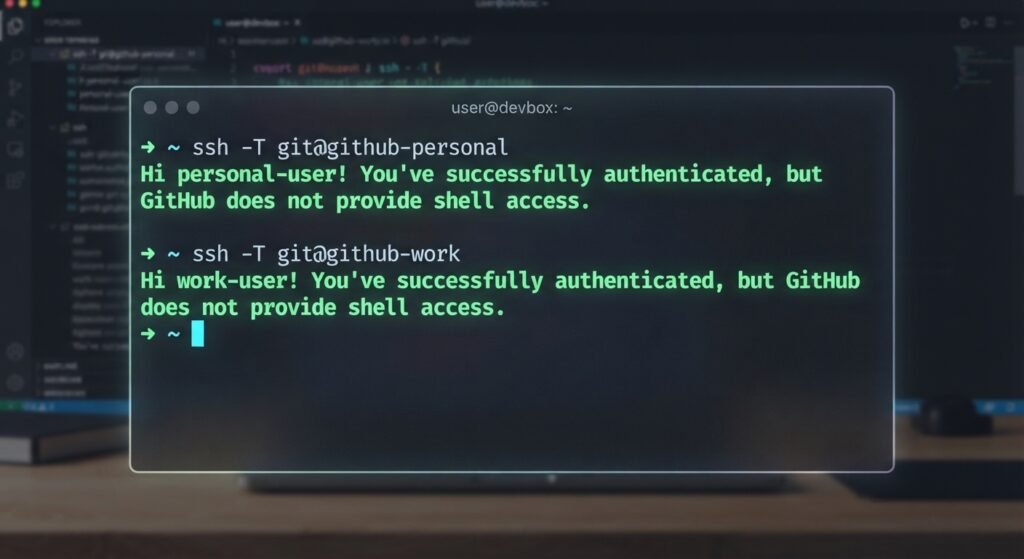
Test both connections against GitHub using your configured host aliases:
Bash
ssh -T git@github.com-personal
ssh -T git@github.com-work
If configured correctly, GitHub will return success messages identifying both account usernames:
Plaintext
Hi personal-username! You've successfully authenticated, but GitHub does not provide shell access.
Hi work-username! You've successfully authenticated, but GitHub does not provide shell access.
Step 5: Automate Account Switching with Directory-Based Git Configs
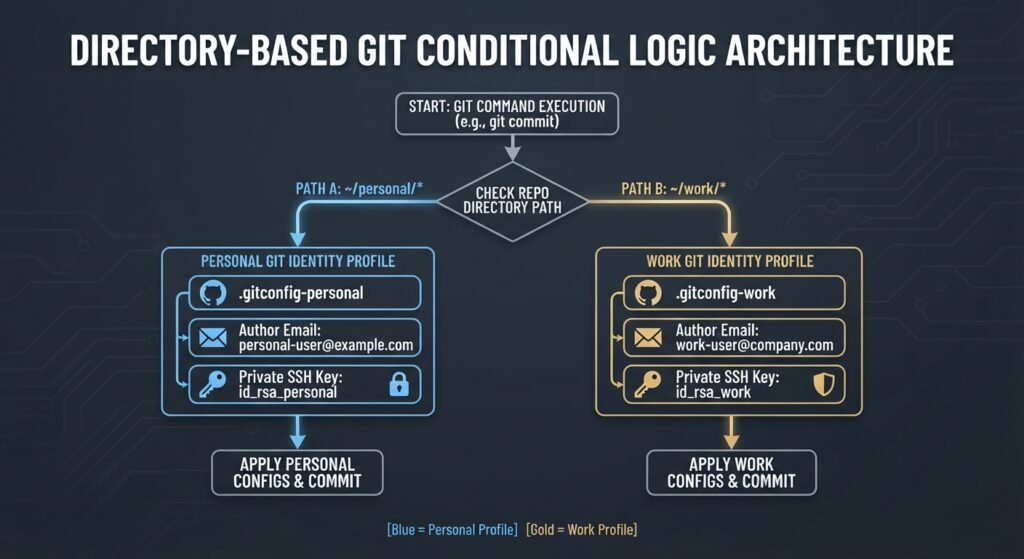
While you can manually edit remote URLs to use aliases (e.g., git@github.com-work:company/repo.git), a cleaner and modern solution uses directory-based inclusion in Git.
Organize your repositories into separate parent folders:
~/projects/personal/~/projects/work/
Config Setup
Edit your main ~/.gitconfig file to automatically load profile rules based on folder location:
Code snippet
# ~/.gitconfig - Global Config

[includeIf "gitdir:~/projects/personal/"]
    path = ~/.gitconfig-personal

[includeIf "gitdir:~/projects/work/"]
    path = ~/.gitconfig-work
Now create ~/.gitconfig-personal:
Code snippet
[user]
    name = Personal Name
    email = your_personal_email@example.com
[core]
sshCommand = ssh -i ~/.ssh/id_ed25519_personal
And create ~/.gitconfig-work:
Code snippet
[user]
    name = Work Name
    email = your_work_email@company.com
[core]
sshCommand = ssh -i ~/.ssh/id_ed25519_work
With this pattern active, cloning or working inside ~/projects/work/ automatically sets your work email name and attaches the correct SSH key without requiring custom host aliases in your Git remote URLs.
Strategy Comparison: Host Aliasing vs. Conditional Git Configs
| Approach | How It Works | Advantages | Disadvantages |
Host Aliasing (~/.ssh/config) | Modifies the Git remote hostname (e.g., git@github.com-work). | Simple to understand; works across all Git tools without directory rules. | Requires modifying the remote URL for every cloned repository. |
Directory Conditional (includeIf) | Assigns core.sshCommand and user metadata based on local directory paths. | Fully automated; standard git clone URLs work without edits. | Requires organizing projects into distinct parent folders. |
Conclusion
Configuring your machine to handle multiple GitHub accounts prevents authorization errors and stops personal email addresses from appearing in company commit logs. By combining unique SSH key pairs with conditional Git configurations, you create an automated, isolated workflow across all your development environments.
Frequently Asked Questions (FAQs)
Why does GitHub say “Key already in use” when I add my SSH key?
GitHub requires each SSH key to be unique across its entire platform. If a public key is already attached to one account, you cannot attach it to a second account. Generate a brand-new SSH key pair for the second account to fix this issue.
How do I fix the “Permission to user/repo.git denied to key-name” error?
This error happens when your SSH client offers the wrong SSH key to GitHub during authentication. Ensure your ~/.ssh/config file contains IdentitiesOnly yes or verify that your repository remote URL matches the host alias defined in your SSH configuration.
Can I set up SSH keys for multiple GitHub accounts on Windows?
Yes. The steps are identical whether you use macOS, Linux, or Windows (via Git Bash or WSL). Create key files in C:\Users\username\.ssh\ and configure your config and .gitconfig files using standard Unix-style paths.
1 thought on “How to Set Up SSH Keys for Multiple GitHub Accounts on One Machine”